Big Head effect in Lens Studio

In this tutorial we'll learn how to create a "Big Head" lens using texture projection. You can see an example of this by clicking here or by scanning the snapcode below.

Creating the background
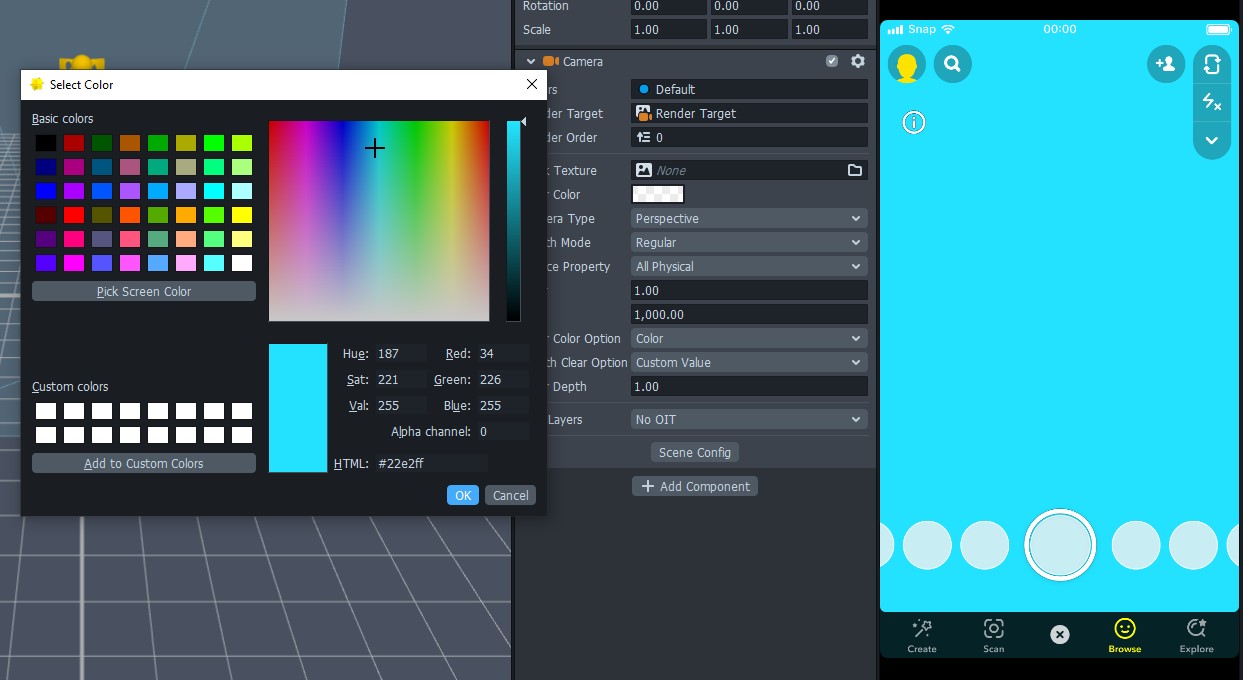
The first step will be to remove the camera view from the background. Select the camera and in the Inspector Panel change the Clear Color Option to either "Color" or "Texture." With the texture option you can either load in an image to use as the camera input or get a little fancy and set up a separate render target (which I won't be covering here). For this tutorial I'm going to go with the color option to keep things simple and go with a nice sky blue.
Creating the head
In the Objects Panel add a Head Mesh. Select the newly created Face Mesh in the Resources Panel and enable the Eye Geometry and Mouth Geometry options.
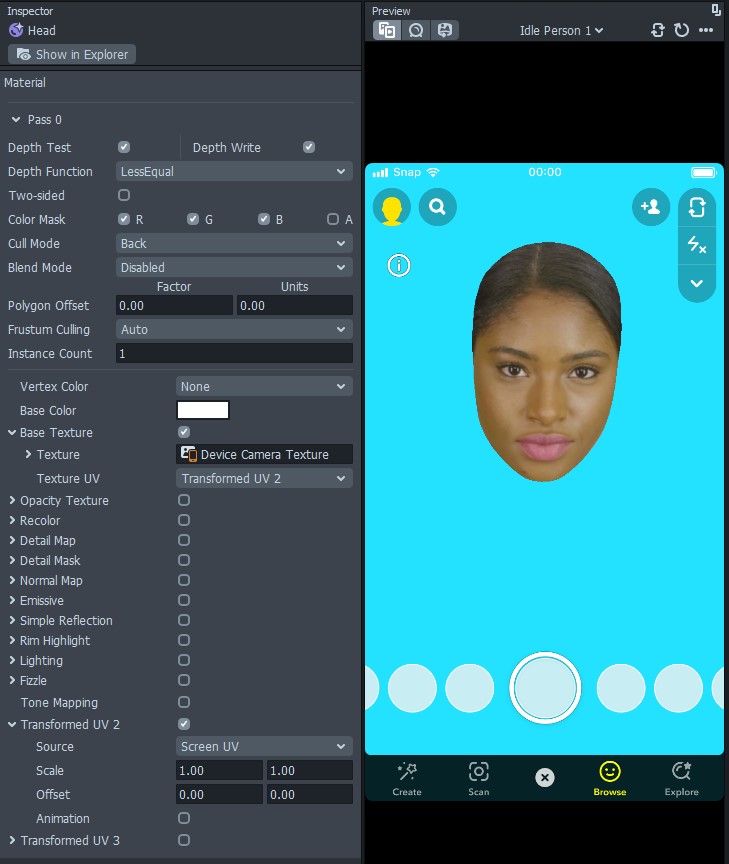
That was pretty easy, but let's make it look like the user's head. Create a new Unlit material, name it whatever you want, and then set it as the material for the head mesh. To get the user's face onto the mesh, we are going to take the camera texture and project it straight onto the mesh. To do so, select the Device Camera Texture as the Base Texture for the material. At this point things are going to be looking pretty ugly, so let's fix that. Change the Texture UV to "Transformed UV 2" and then enable the Transformed UV 2 option down at the bottom of the material settings and change it to "Screen UV." You should now see the face projected onto the head mesh.
Finishing touches
That's about it as far as creating the head portion of the lens. To finish your scene, import a 3D body and size it to be proportionally too small for the head. You can also import additional 3D elements to flesh out the scene.